GelSignal Walkthrough
In this walkthrough we introduce command by command. The end result of the walkthrough is a spreadhsheet with multiple properly aligned and cropped images that can be used fgor further processing.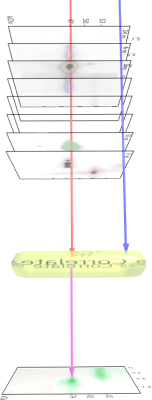 Step 0: orhonormal coordinates - Understand
the virtual coordinate system
Step 0: orhonormal coordinates - Understand
the virtual coordinate systemStep 1: Inserting 2DE Images - Explains how to insert images into the GelSignal Interactive Image Spreadsheet
Step 2: Centering 2DE Images - Explains how to assign the center of an image
Step 3: Rotating 2DE Images - Explains how to rotate images
Step 4: Scaling 2DE Images - Explains how to remove time based inaccuracies.
Step 5: Overlaying Images - Here we explain how to overlay/add images to create a scout image, indicating areas of interest.
Step 6: Cutting out the regions of interest - Explains how to 'zoom-in' to the region of interest.
